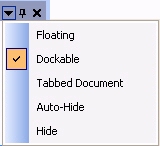
 , and an X (used to close the pane). See the figure below. All three controls can be used to customize your workspace. Click on the down arrow in the window header or right-click inside the header to display the menu shown below.
| Floating, Moving, and Docking Panels |
| Auto-Hiding Panels |
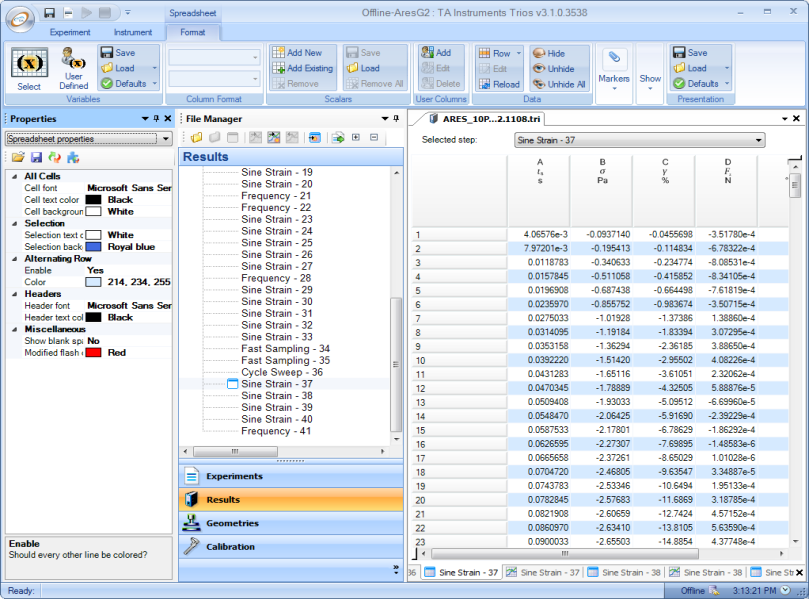
The factory default workspace appears when TRIOS first opens. You can customize this workspace by changing the size of the various windows and panels and repositioning them.
See Also
Touring the TRIOS Workspace
Below is a list of windows and panels that can be moved around the workspace.
When a movable panel opens, the upper right-hand corner displays an arrow that indicates a drop-down menu, a small pushpin icon , and an X (used to close the pane). See the figure below. All three controls can be used to customize your workspace. Click on the down arrow in the window header or right-click inside the header to display the menu shown below.
Floating a panel frees it from the main TRIOS workspace, allowing you to drag and place the panel anywhere you choose.
To create a free-floating panel:
A dockable panel can be moved to preset locations within the TRIOS workspace. These areas include the top, right, left, bottom, and center (tabbed) locations.
To display a panel in one of these locations, follow these steps:
 display in the center and edges of the window. These show you the directions to move the panel.
A tabbed panel is displayed in the center of the screen with any active experiments.
To turn a panel into a tabbed pane, select Tabbed document from the drop-down menu.
To return the panel to a docked form, right-click on the header tab and select Dockable from the drop-down menu. The panel will be docked in its original position.
You can condense a panel to a tab header to conserve space, if desired. Dock your chosen panel in the desired location (top, right, left, bottom) then choose Auto-Hide from the drop-down menu or press the pushpin icon on the panel header. When the panel is not in focus, it will drop back to the smaller tab position.
To return the panel to a docked state, show the panel and click the pushpin icon again, or select Dockable from the drop-down menu.
